Free Information on Welding Race Cars & Street Rods
Have a Welder? Improve Weld Starts and
Have Shielding Gas Cylinder Last at Least Twice as Long!
Note: Our Patented
GSS
is Not Available in "Stores"
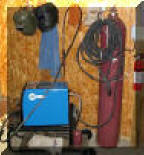
A home shop fabricator
in Georgia with a Miller TM 175 amp welder
purchased a 50 foot Gas Saver System ( GSSTM
) so he could use a larger cylinder
and mount it on the wall of his shop. He wrote:
"The system works great.
Thanks for the professional service and
a great product."
Click To See His Home Shop
A Professional
Street Rod Builder Had This to Say:
With their standard MIG welder gas delivery hose the
peak shielding flow at weld start was measured at 150 CFH. That caused air
to be sucked into the gas stream causing poor weld starts. With the
GSS replacing their existing
hose, the peak flow surge at the weld start was about 50 CFH. Total gas use
was cut in half.
Kyle Bond, President, quickly saw the improvement
achieved in weld start quality as a significant advantage! Kyle, an
excellent automotive painter, was well aware of the effects of gas surge
caused by pressure buildup in the delivery hose when stopped. He has to
deal with the visible effects in the air hose lines on the spray gun in his
paint booth! The paint surge is visible and creates defects unless the gun
is triggered off the part being painted! We can’t do that with our MIG gun!


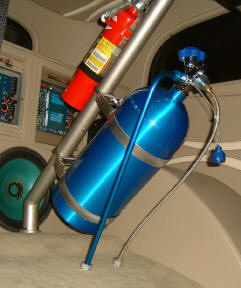 etc. Therefore add the Nitrous in a neat attractive way and there
is enough horse power to light the Mickey Thompson's at any speed!
etc. Therefore add the Nitrous in a neat attractive way and there
is enough horse power to light the Mickey Thompson's at any speed!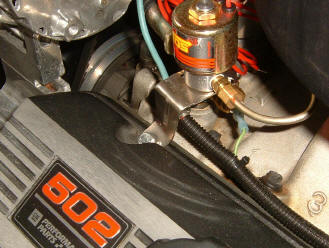
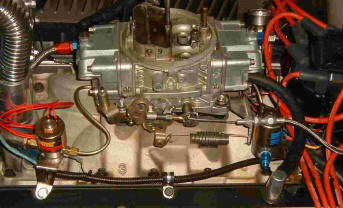
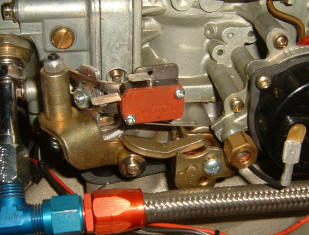 between the rear pump
are and the carb body. An aluminum bracket was fabricated and attached to the one
supplied with the kit. The combined bracket was
mounted on the right rear carb mounting stud. It works fine with the
switch arm just activating a full throttle. Nothing fancy but it does the
job.
between the rear pump
are and the carb body. An aluminum bracket was fabricated and attached to the one
supplied with the kit. The combined bracket was
mounted on the right rear carb mounting stud. It works fine with the
switch arm just activating a full throttle. Nothing fancy but it does the
job.