|
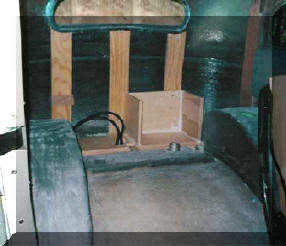
Design the "Wall"
The rear of the Sedan does not have
room for a seat, not with the tire tubs, roll bar and
the engine set-back. Therefore a "Stereo Wall" was added to have super
sound and to fill up the back of the car!
|
 |
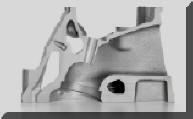
Materials
3/4 inch plywood was used to construction the "wall" which will be covered
in leather. Matched components were selected for visual appeal, sound
then price! The Gibbon body used oak as reinforcement so was
easy to fasten the plywood. First task installing the base
and sub woofer enclosure (the volume was selected for optimum sound.)
All joints were glued and screwed with a sealer used to eliminate
vibrations. |
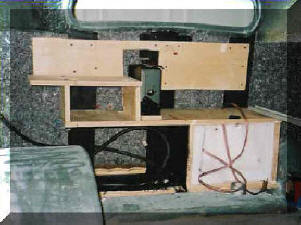 |
Adding Shelves
Shelves were added to hold the CD changer, Power Amps,
AM/FM Stereo Receiver, Alarm system, Dakota Digital Remote Control and a wiring
panel. All brackets were designed so the components
could be removed from the top when the "wall" was finished. The Optima
battery goes into the bottom shelf that is painted black. The
two amps from Power Acoustics were selected for appearance! One powers the
sub woofer the other the two main speakers.
|
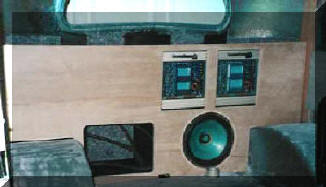 |
Front Panel
The front panel was installed to check fit and build braces. It's tight
but does fit through the door. Here the power amps and sub woofer are in
place. The battery hole is also.
The final location for the speakers and receiver were defined and cut into
the panel.
|
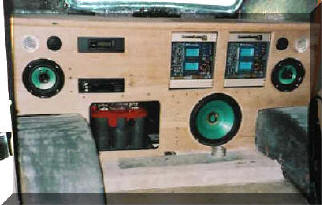 |
All Elements
In The radio receiver is
above the battery and above it is the remote panel for the CD Changer.
Both use remotes to control all functions including power on and off. No
need to ever go back unless it is to change out the 6 CD's. The holes
above the two main speakers are for small tweeters. That's it - no
more room for anything else! |
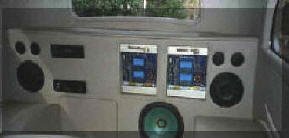 |
"Finished Stereo Wall"
The fellows that did the interior covered all surfaces with the
same material as the seats called "Ultra Leather." They placed a small amount of
padding over the surface.
Note: the battery recess has a cover;
(employing a form follows function philosophy that was used to design the car,
I wanted the Optima battery exposed. But the Interior Folks and my Wife
won out!)
|